Smoke detectors are among the most important safety devices in your home, providing early warning in case of a fire and giving your family valuable time to escape. When a smoke detector won’t stop beeping, false alarms keep happening, or the unit glitches after a power outage, knowing how to reset smoke detectors becomes essential.
Many homeowners assume a beeping alarm just needs a battery replacement, but the issue is often more complex. Resetting the device can clear internal errors, stop chirping, and restore the detector’s normal operation. Whether you have battery-powered alarms, hardwired models, or combination units, understanding how to reset them is key to keeping your home safe and quiet.
This guide walks you through the reset process, explains common causes of alarm malfunctions, and offers troubleshooting and maintenance tips. It also emphasizes the importance of proper placement and coverage—so while you learn how to reset your alarms, you may also want to check how many smoke detectors do you need to ensure every room and hallway in your home is properly protected.
Why Smoke Detectors Need Resetting
Before jumping into the reset steps, it helps to understand why a smoke detector may start beeping or malfunctioning. These issues are common and often easy to fix once you know the cause.
1. Low Batteries
One of the most frequent reasons for beeping or chirping is a weak battery. Even hardwired units usually have backup batteries that need replacement. Once the battery is changed, the detector often needs to be reset to clear the low-battery warning.
2. Dust or Debris in the Sensor
Dust buildup causes false alarms. A detector may sense particles and mistake them for smoke. Cleaning the vents and resetting the sensor can stop unwanted beeping.
3. Power Surge or Outage
Hardwired units can malfunction after power returns. A reset helps re-sync the alarm’s internal processor.
4. End-of-Life Warning
Smoke detectors usually last 8–10 years. A constant chirp may signal the unit needs full replacement rather than a reset.
5. Environmental Factors
Steam, humidity, and strong odors from cooking or cleaning products may trigger alarms. Resetting the detector after ventilating the area stops continued alerts.
Understanding the cause helps you decide whether a reset is the right solution—or if maintenance or replacement is needed.
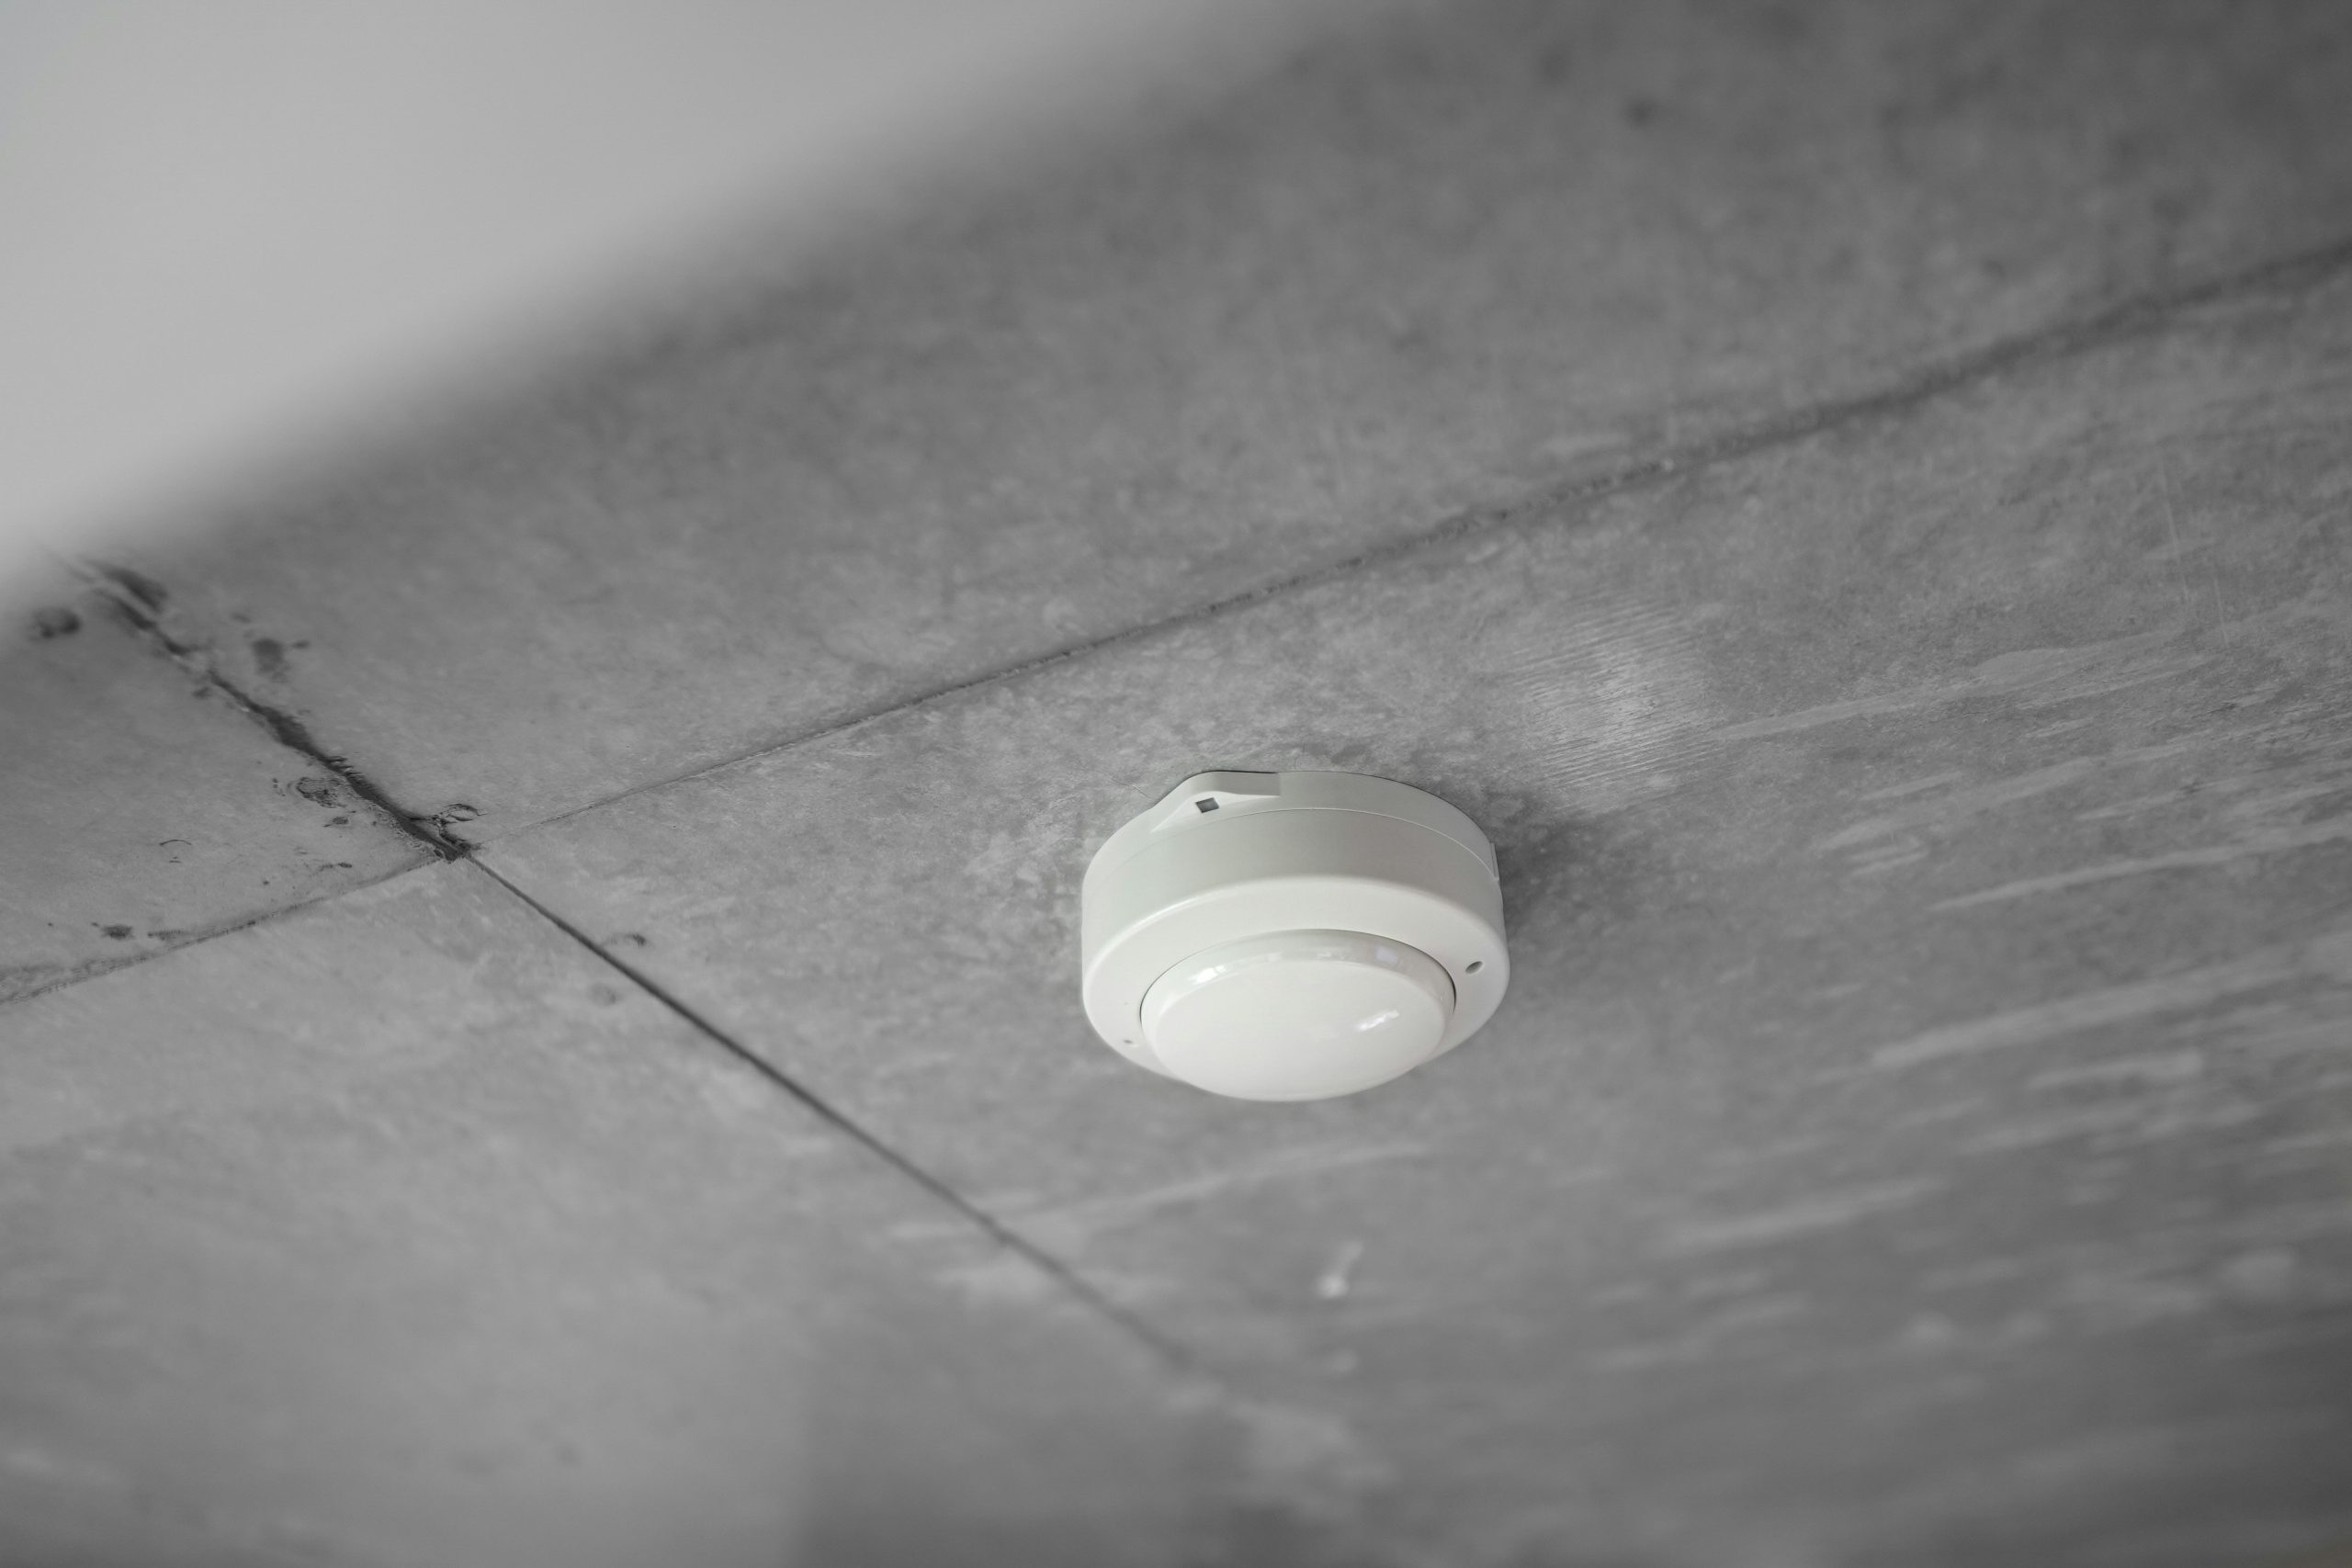
Types of Smoke Detectors and How Resetting Differs
Not all smoke detectors reset the same way. Here are the main types and what to know before resetting each one.
Battery-Powered Smoke Detectors
These are the simplest units and run entirely on replaceable batteries.
Features:
- Easy installation
- No wiring required
- Common in older homes and rentals
Resetting is simple since the unit is not connected to household power.
Hardwired Smoke Detectors
These alarms connect to your home’s electrical system and often have a battery backup.
Features:
- Constant power supply
- May be interconnected (all alarms sound when one detects smoke)
- More complex reset process
Because they are wired together, resetting one unit may affect the entire system.
Combination Smoke and Carbon Monoxide Detectors
These alarms detect both fire and carbon monoxide, making them essential for home safety.
Features:
- Multiple sensors
- Require more frequent testing
- Resetting depends on the alarm type
Always follow the manufacturer’s instructions when resetting combination units since they have more internal components.
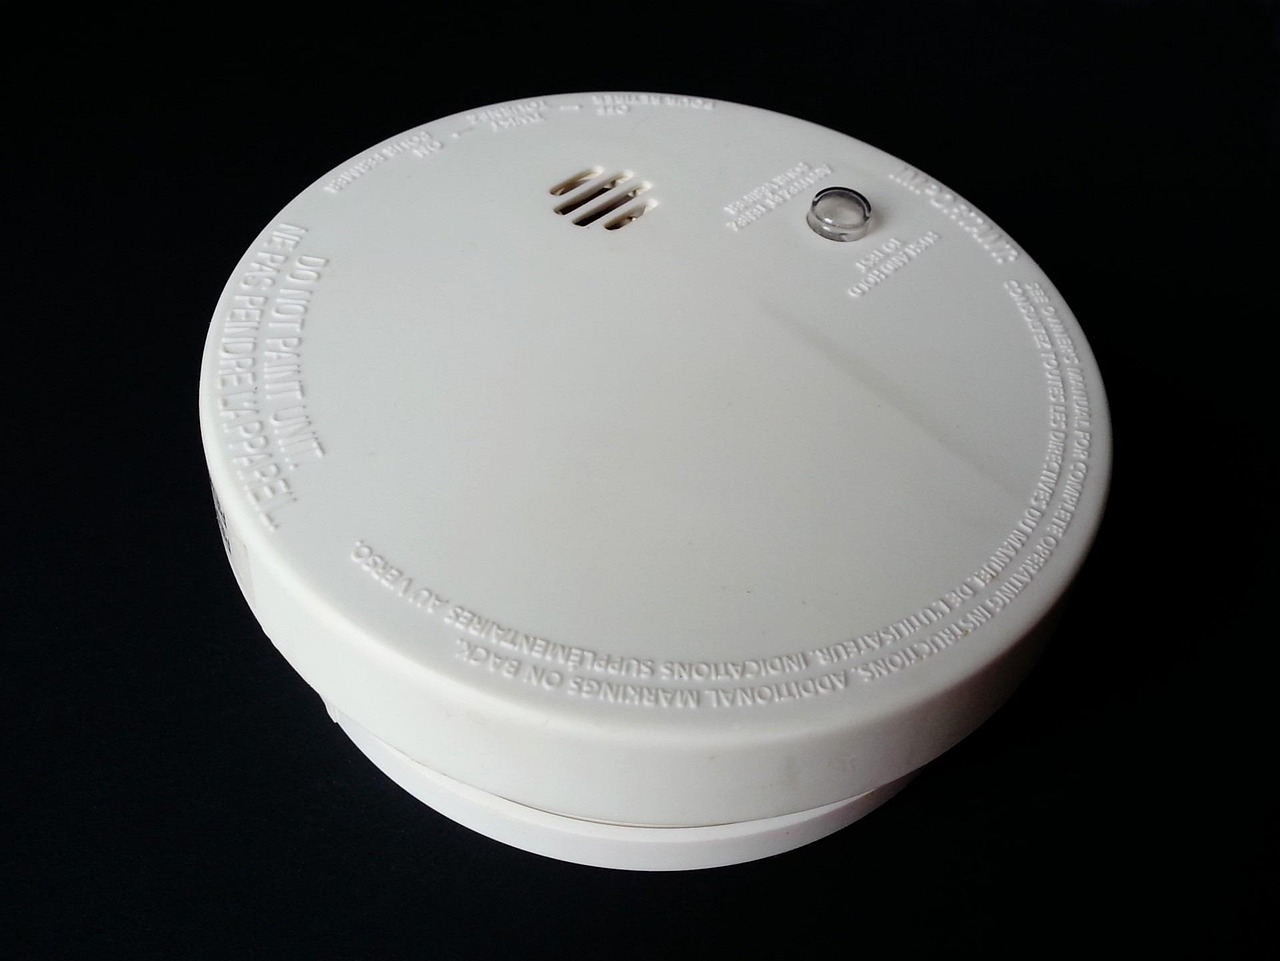
How to Reset a Battery-Powered Smoke Detector
Resetting a battery-powered smoke detector is quick and straightforward. Follow these steps:
Step-by-Step Instructions
- Remove the Detector from Its Mount
Twist it counterclockwise or slide it off, depending on the model.
- Take Out the Battery
Remove the old battery and check for corrosion or dust.
- Hold the Test/Reset Button
Press and hold the button for about 15–20 seconds.
The detector will chirp once or twice, then stop.
- Insert a Fresh Batter
Use the correct battery type, usually a 9V or AA depending on the unit.
- Reattach the Detector
Place it back on the mounting bracket and ensure it clicks into place.
- Test the Alarm
Press the test button to verify the reset worked.
Why This Works
Holding the test button drains any leftover electrical charge in the unit, clearing memory errors or glitchy behavior.
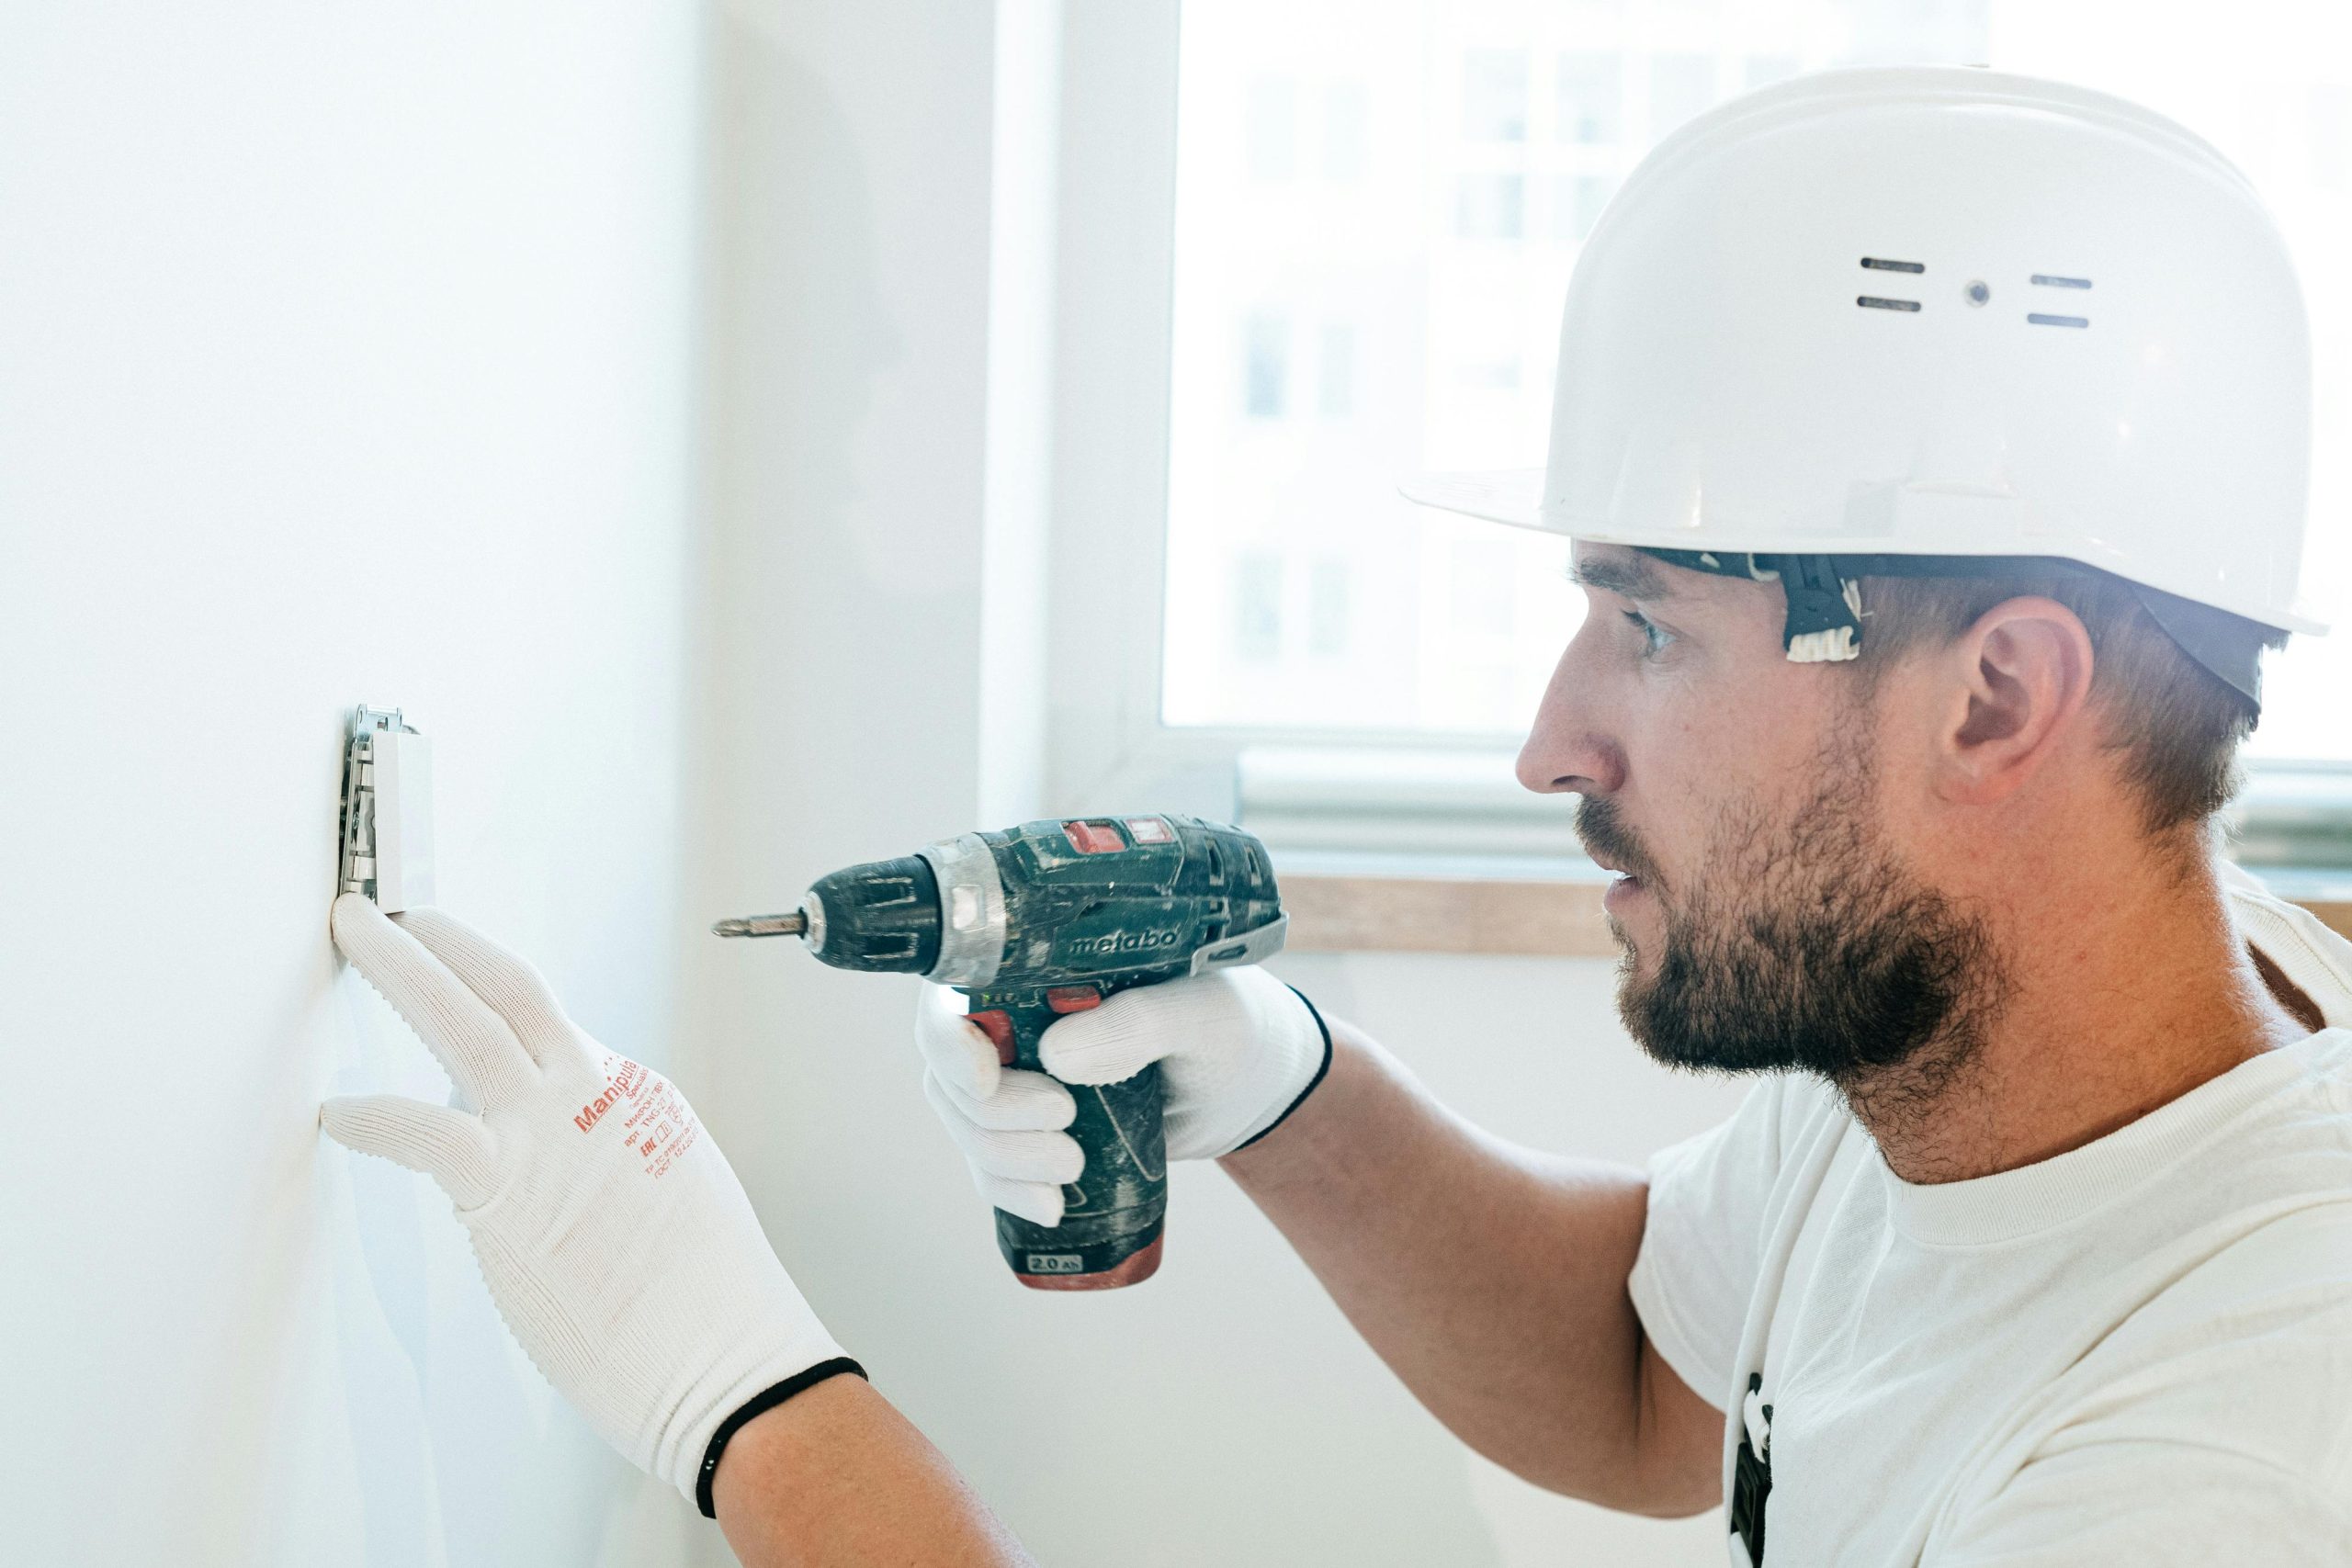
How to Reset a Hardwired Smoke Detector
Hardwired smoke detectors often require more steps because they connect to your home’s electrical system.
Step-by-Step Instructions
- Turn Off Power at the Breaker
Locate the breaker for your smoke detectors and switch it off. This prevents shocks and resets the system safely.
- Remove the Detector from the Mount
Twist or pull it off the bracket.
- Disconnect the Wiring Harness
Most alarms use a plug-in connector. Gently squeeze the clip and pull it apart.
- Remove the Battery Backup
Take out the old backup battery if your unit has one.
- Press and Hold the Test/Reset Button
Hold the button for 15–30 seconds until the detector beeps and the light goes off.
- Reconnect the Wiring Harness
Plug the connector back in securely.
- Insert a Fresh Battery
Replace the backup battery and secure the cover.
- Restore Power at the Breaker
Turn the breaker back on and listen for the unit to reset.
- Test the Alarm System
Press the test button to ensure all interconnected alarms sound properly.
Important Note
If your home has interconnected hardwired alarms, a faulty unit may cause others to malfunction. Resetting each one may be necessary.
How to Reset Combination Smoke and CO Detectors
Combination units vary by brand, but most follow a similar reset process.
General Steps
- Remove the unit from its mount.
- Replace the battery (if applicable).
- Press the test/reset button for 20–30 seconds.
- Reinstall the unit and test again.
For specific brands like Kidde, First Alert, or Nest Protect, check the manufacturer’s manual for any additional reset steps.
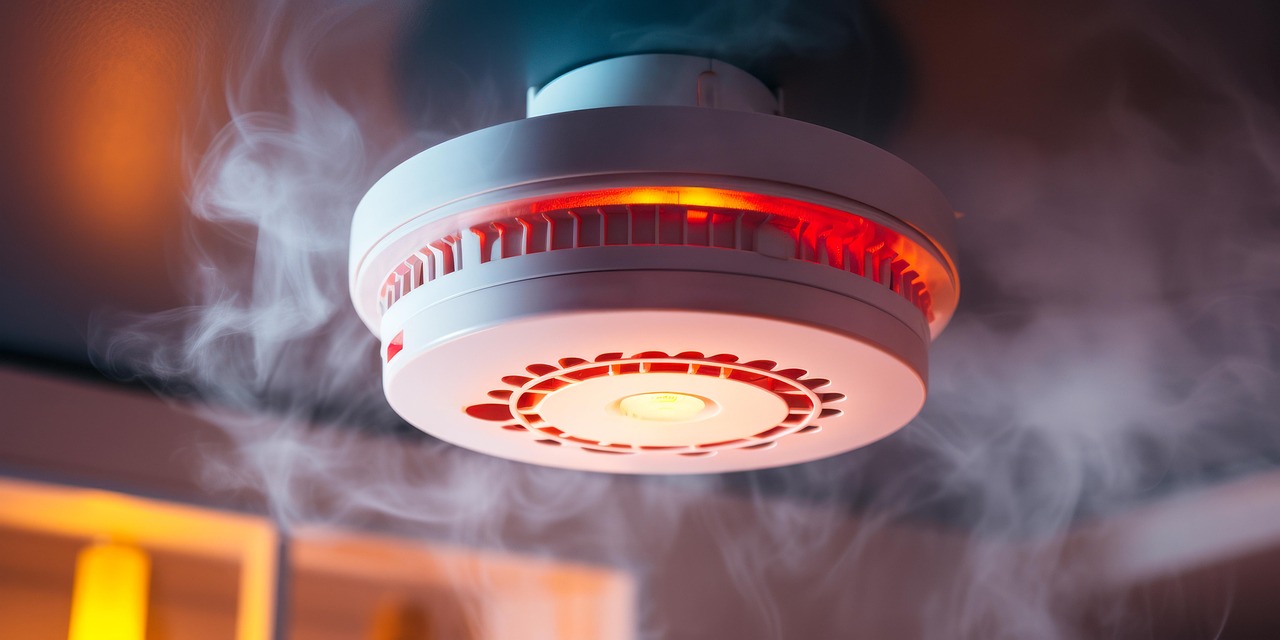
How to Reset After a False Alarm
False alarms can happen due to cooking, steam, dust, or environmental triggers.
To reset after a false alarm:
- Ventilate the area by opening windows.
- Turn on fans to clear residual smoke or steam.
- Press the silence button if your alarm has one.
- Once the environment clears, reset the detector using the steps above.
If false alarms happen frequently:
- Clean the unit.
- Check humidity levels.
- Ensure it’s not installed too close to the kitchen or bathroom.
Troubleshooting a Smoke Detector That Won’t Stop Chirping
Sometimes even after a reset, the alarm keeps chirping. Here are common fixes:
1. Replace the Battery Again
Sometimes the replacement battery is weak or defective.
2. Check for Dust or Insects
Use a vacuum with a brush attachment to clean vents and remove debris.
3. Inspect the Wiring (Hardwired Units)
Loose wiring can cause intermittent chirping.
4. Reset the Entire System
For interconnected alarms, reset each unit individually.
5. Replace the Unit
If the detector is older than 8–10 years, replacement is the only fix.
When Should You Replace Instead of Reset?
A reset won’t fix issues caused by age or failing components. Replace your smoke detector if you notice:
- Frequent false alarms
- Yellowing or discoloration of the casing
- Chirping that persists despite troubleshooting
- No response when pressing the test button
- An expiration date older than 10 years
Modern alarms often have upgraded sensors, faster detection, and better reliability—making replacement a smart safety investment.
Safety Tips When Resetting Smoke Detectors
Always practice caution when working with smoke detectors, especially hardwired models.
Safety Reminders
- Turn off power at the breaker before removing hardwired detectors.
- Use a sturdy ladder or step stool to avoid falls.
- Never cover or tape a detector to silence it.
- Replace batteries at least once a year.
- Test all detectors monthly.
- Keep detectors at least 10 feet away from cooking areas to reduce false alarms.
Proper handling ensures your alarms continue working when you need them most.
How to Prevent Smoke Detector Problems in the Future
Routine care minimizes false alarms, glitches, and unexpected chirping.
Regular Maintenance Checklist
Monthly Tasks
- Test all smoke detectors
- Clean the vents with a vacuum
- Check the indicator lights
Every 6 Months
- Replace batteries (even if they aren’t chirping)
- Inspect wiring on hardwired units
Annually
- Remove detectors and deep clean the sensor area
- Review placement to ensure proper coverage
Every 8–10 Years
- Replace all smoke detectors with new units
Keeping a maintenance schedule ensures your alarms provide reliable protection.
Common Mistakes to Avoid When Resetting Smoke Detectors
Many homeowners unintentionally make errors that prevent successful resets.
Mistakes to Avoid
- Ignoring the battery backup on hardwired units
- Forgetting to turn off the breaker
- Resetting without cleaning the detector first
- Using old or generic batteries
- Not testing the alarm after resetting
Avoiding these mistakes saves time and keeps your alarm system fully functional.
Final Thoughts
Knowing how to reset smoke detectors is an essential part of home safety. Whether your alarm is beeping, glitching after a power outage, or giving repeated false alerts, a proper reset can often fix the issue quickly. Understanding your detector type, following the correct steps, and practicing routine maintenance ensures your alarms stay reliable and ready to protect your home.
Resetting helps, but don’t forget the big picture. Keeping your home safe also means asking questions like “How many smoke detectors do I need?” and ensuring every room, hallway, and floor has full coverage. Together, these practices build a safer, better-protected living environment for you and your family.